


Ensure the Stability of your PC Devices with One Click
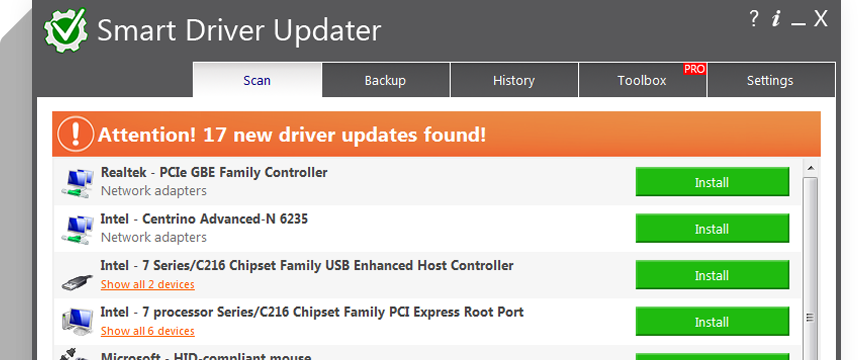
With just a few clicks of your mouse Smart Driver Updater will analyze the drivers on your PC and recommend updates from a database containing over 1.2 million drivers for all your PC hardware devices.
Easy Updates for Windows OS Upgrades
Often the biggest problem faced by users upgrading to new a new Windows operating system is that their existing hardware is not compatible. Smart Driver Updater fixes this issue by automatically finding the problem drivers and downloading the correct version.
Instant Access to all the Latest Drivers
The Smart Driver Updater driver database is constantly updated to ensure that we have the most updated drivers available. As a Smart Driver Updater user you will have ongoing access to all database updates ensuring that you are always running the most current drivers for your system.
Drivers for all your Windows Devices
The Smart Driver Updater driver database contains drivers for the vast majority of hardware devices such as motherboards, video cards, sound cards, network cards, modems, monitors, mice, keyboards, digital cameras, video capture cards and much more.
Backup and Restore
If you’re upgrading your operating system or just need to reinstall Windows, Smart Driver Updater can backup all the drivers on your PC or laptop, compressing them to a zip file that is easy to export and reinstall. Smart Driver Updater’s backup and reinstall features can save you hours of searching for and installing individual device drivers.
Built in Scheduler
Never again will you have outdated drivers causing problems to your computer. Simply set the built in scheduler to run a scan automatically at a time and interval that is convenient for you.
Current Downloads for all PC Devices on all Windows Operating Systems
- USB drivers
- Printer drivers
- Scanner drivers
- Video card drivers
- Audio card drivers
- Graphic card drivers
- Intel drivers
- Monitor drivers
- Network adapter drivers
- + more device types
- Dell
- HP
- Microsoft
- Canon
- + more
- Windows 10
- Windows 8/8.1
- Windows 7
- Windows Vista
- Windows XP
Smart Driver Updater Features
- Over 1.2 million device drivers supported so you know all your devices are covered.
- Automatically updates outdated drivers.
- Backup and restore your drivers.
- Built-in Scheduler to automatically run driver scans at a time convenient for you.
- Never experience the headache of an out-of-date driver again.
Specs & System Requirements
- Current Version 5.0
- Windows Operating System: Windows 10, 8, 7, Vista, XP
- 2.8 MB free disk space
- 256 MB RAM
- Processor: Pentium Class